Background
Recently, I deployed Mautic to run email campaigns. I find it quite impressive, although there is room for improvement in the cron-based scheduling. Regardless, it gets the job done, making it a cost-effective solution for email campaigns. The cost-effectiveness is possible because Kayaking St. Augustine uses Office365 for email hosting. I set up a Postfix container and connected it to Office365, with Mautic utilizing local SMTP.
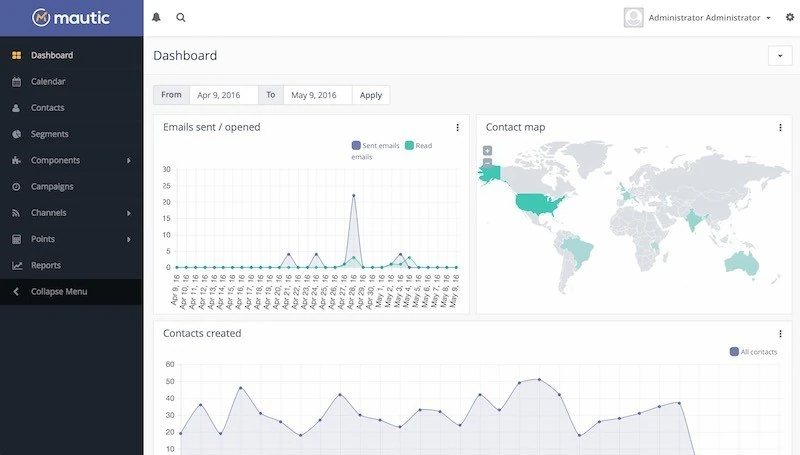
The next step was to connect Mautic to Office365.
Setting up SSO
Microsoft Entra
Log in to Azure AD, or rather, Microsoft Entra.
Navigate to:
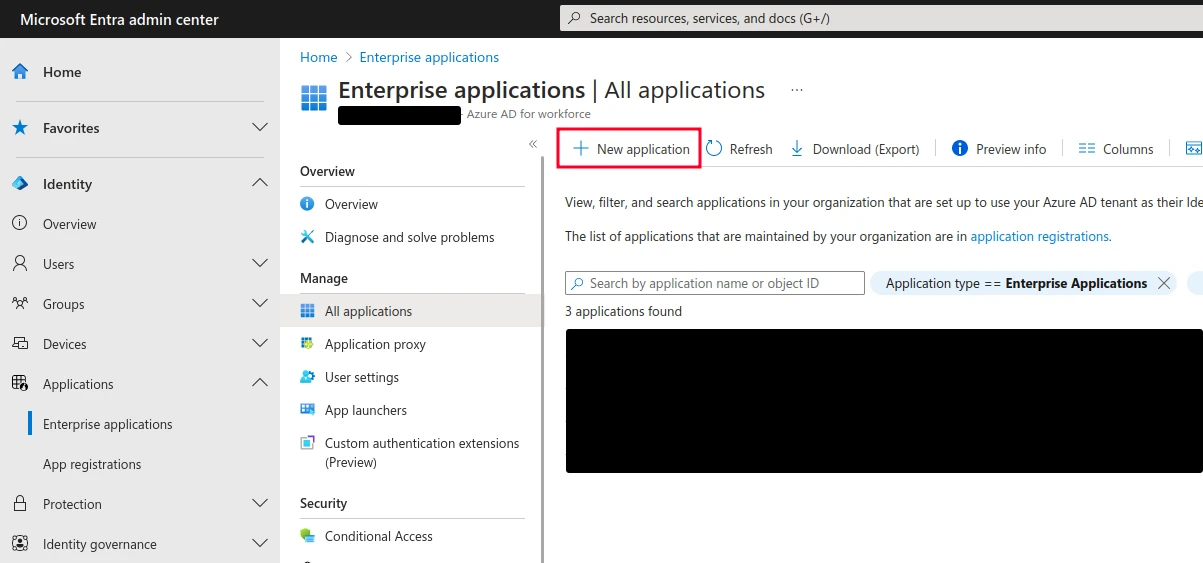
Identity -> Applications -> Enterprise Applications -> New Application
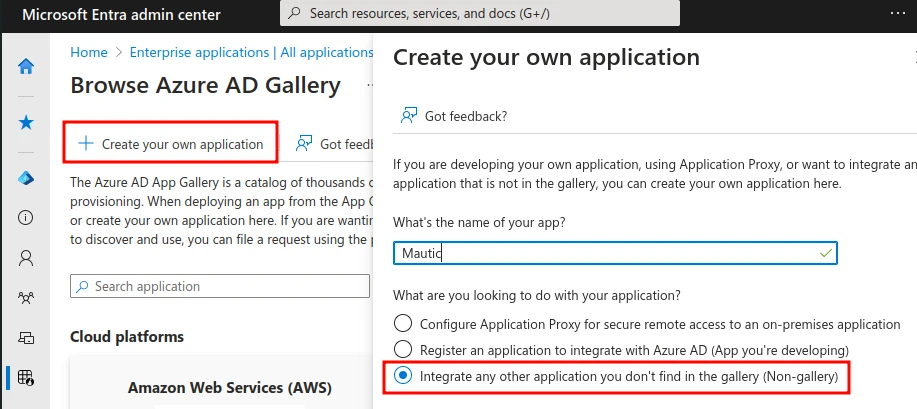
Click Create your own application and give it a name like “Mautic.” Select Integrate any other application you can’t find in the gallery (Non-gallery).
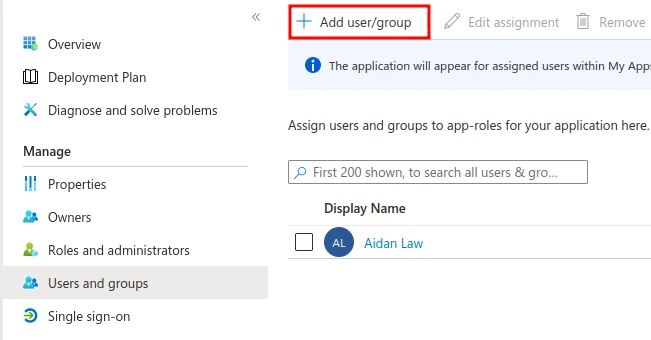
Once that’s done, assign some users and groups to the application. Manage -> Users and groups -> Add user/group.
Now, go to Single sign-on and select SAML Authentication.
Click “Edit” under Basic SAML Configuration and input the following:
- Identifier (Entity ID):
https://mautic.yourdomain.com(your main Mautic URL). - Reply URL (Assertion Consumer Service URL):
https://mautic.yourdomain.com/s/saml/login_check(your Mautic domain +/s/saml/login_check). - Logout URL:
https://mautic.yourdomain.com/s/saml/login_check(your Mautic domain +/s/logout).


Next, download the SAML Certificate (Base64) and Federation Metadata XML.
With these files downloaded, it’s time to configure Mautic.
Mautic
Before setting up Authentication, create a group to map Office365 users to, with the desired permissions. Gear icon in the top right -> Configuration -> Roles.
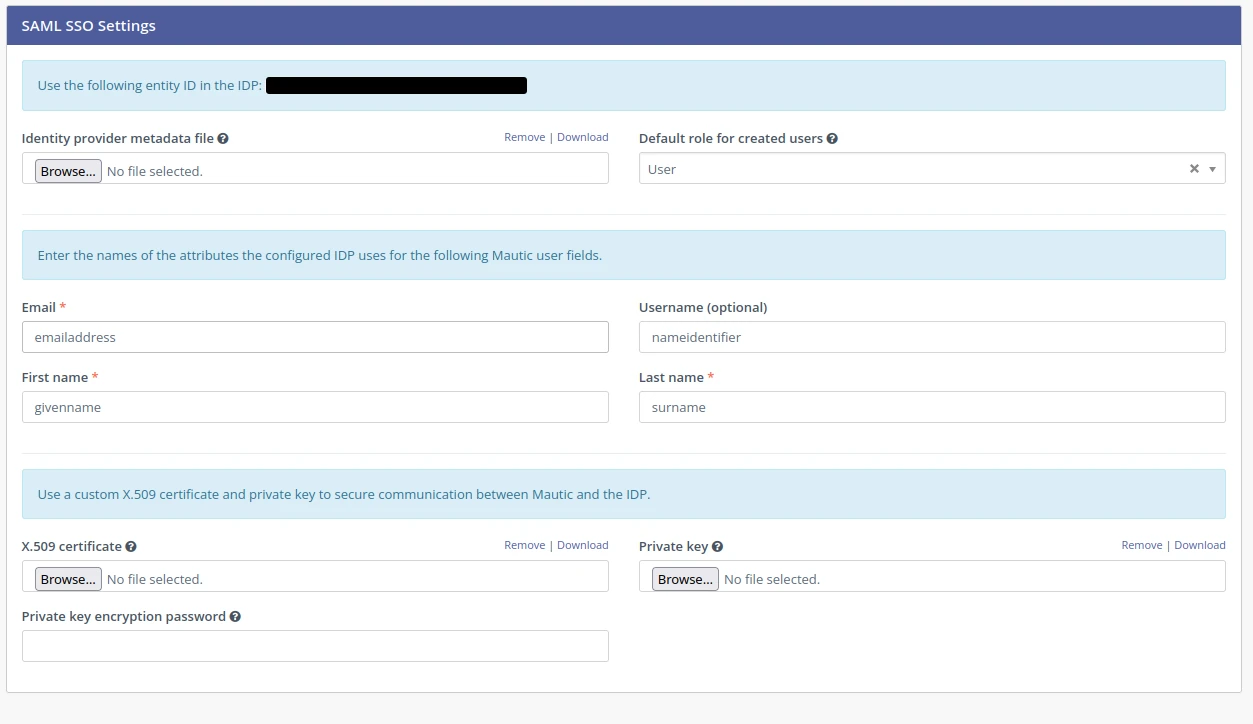
From the dashboard, go to Gear icon in the top right -> Configuration -> User/Authentication Settings.
Upload the Federation Metadata XML under Identity provider metadata xml.
Select the group you created under Default Role for created users.
In the Attribute fields, fill out the following settings:
- Email:
email - First Name:
givenname - Last Name:
surname - Username:
nameidentifier
Finally, upload the SAML Certificate under X.509 Certificate.
Open a new browser instance and try to go to your Mautic URL. You will now be redirected to an Office 365 login page.